Tabletop labeling machines are invaluable tools for small businesses, startups, and even larger operations looking to streamline their packaging process. These machines provide efficiency, consistency, and professional-looking labels that are crucial for product branding and customer satisfaction. However, setting up a tabletop labeling machine can be intimidating, especially for beginners. This guide is here to walk you through the entire process, ensuring you get your machine up and running smoothly without any hiccups. With a few simple steps, you’ll be labeling products like a pro in no time.
Understanding Your Tabletop Labeling Machine: Key Components
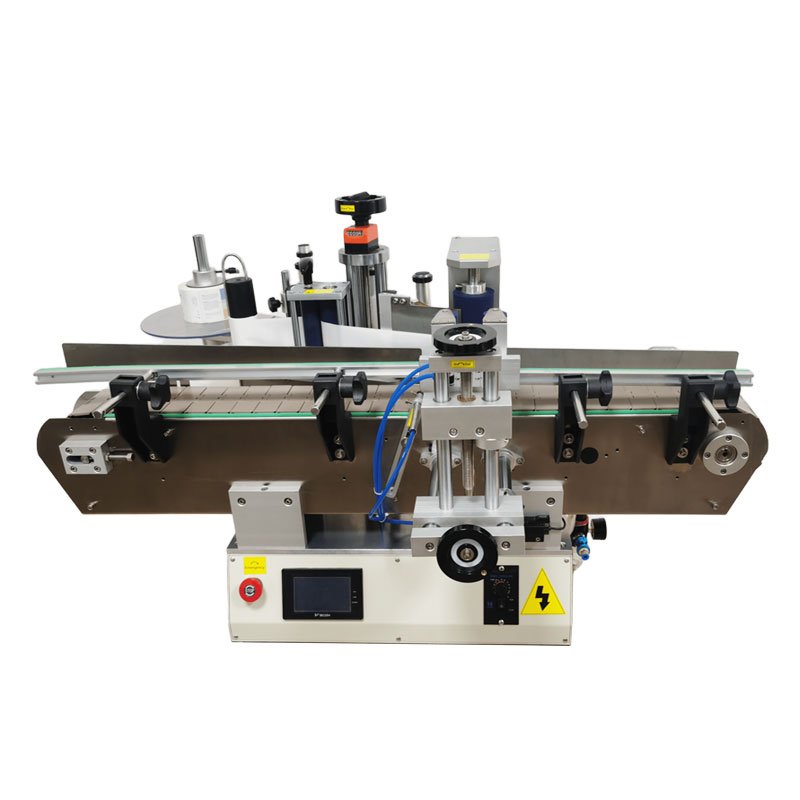
Before diving into the setup process, it’s important to familiarize yourself with the key components of your tabletop labeling machine. These typically include:
- Label Dispenser: The part of the machine that holds the label roll and feeds it through the system.
- Sensor: This is used to detect the position of the labels and ensure proper application.
- Power Switch: A simple on/off switch to power up the machine.
- Label Guides: These guides help control the position of the label, ensuring it applies straight and consistently to your product.
- Adjustment Knobs: These allow you to fine-tune the machine settings for different label sizes, feed rates, and sensor sensitivity.
Understanding these parts will help you during the setup process and troubleshooting down the line, should any issues arise.
Step-by-Step Setup: Getting Starte
Setting up your tabletop labeling machine involves a few simple, yet essential, steps. Following this guide ensures everything is in place for smooth operation.
Unboxing and Inspecting the Machine
Start by carefully unboxing your tabletop labeling machine. Make sure all components are present, including the power cord, label rolls, and any tools or manuals that came with the machine. Check the machine for any visible damage from shipping. If any parts are missing or damaged, contact the manufacturer immediately for support.
Connecting the Power and Preparing the Setup Area
Place the machine on a stable, flat surface that is free from dust, moisture, and other debris. Ensure that there’s enough space around the machine for easy loading of labels and smooth operation. Connect the power cord to the machine and plug it into a functional power outlet. Turn the power switch on, and verify that the machine is powered up.
Loading the Label Roll
Once the machine is powered on, it’s time to load the label roll. Start by placing the label roll into the dispenser, ensuring that it is positioned correctly. The label should unwind in the correct direction, with the adhesive side facing outward. Make sure the roll is not too tight, as this can cause feeding issues. Also, verify that the roll is securely in place so that it won’t shift or move during operation.
Adjusting the Label Guides
Adjust the label guides to fit the size of the labels you are using. These guides will help the labels stay straight and aligned as they are fed through the machine. Make sure the guides are snug but not too tight, as excessive pressure can cause labels to be misfed or damaged. If the machine offers an adjustable label sensor, make sure it’s properly aligned with the first label on the roll.
Fine-Tuning for Efficiency: Adjusting Settings
After your machine is set up, the next step is to fine-tune the machine settings. Adjusting settings like label feed rate, sensor sensitivity, and label spacing can drastically improve the quality and speed of your labeling process.
Adjusting Speed and Feed Rate
Most tabletop labeling machines allow you to adjust the speed at which labels are fed. If you’re just starting, it’s a good idea to start with a slower speed and gradually increase it as you become more familiar with the machine’s capabilities. Slower speeds provide better precision, ensuring that the labels are applied correctly without slipping or wrinkling.
Fine-Tuning Sensor Sensitivity
The sensor on your labeling machine detects the position of each label to ensure proper application. If your machine allows for sensor sensitivity adjustments, start by setting it to a moderate level. If the labels aren’t being detected consistently, slightly adjust the sensitivity to improve detection. This is particularly important when working with labels that have gaps between them or when the labels are poorly printed.
Label Spacing and Alignment
Make sure the label spacing is adjusted according to the product’s size and shape. The machine should apply labels evenly across your products, with no gaps or overlaps. Most tabletop machines have settings to control the gap between each label, so ensure this is fine-tuned to match your product’s requirements.
Testing the Setup: First Run and Troubleshooting
Once your machine is set up and the settings are adjusted, it’s time to run a test. This helps ensure that everything is working as expected before you begin full production.
Running a Test Label
Place a product on the machine’s conveyor or platform and run a few test labels. Check if the label is being applied straight, centered, and at the correct speed. If the label is skewed or misaligned, stop the machine and adjust the label guides accordingly.
Troubleshooting Common Issues
If the labels are misaligned or the machine isn’t detecting labels properly, check the following:
- Label Roll Tension: Ensure the tension is even and the roll is not too tight or too loose.
- Label Feed: Check that the label path is clear of debris or adhesive residue, which can cause jams.
- Sensor Adjustment: Double-check the sensor settings and ensure they match the type of labels you’re using (gap, mark, or continuous).
Common Setup Issues and Quick Fixes
Even with proper setup, beginners may encounter a few common issues. Here are some quick fixes:
- Label Skewing: If labels are not applying straight, adjust the label guides to ensure they are snug but not too tight.
- Label Jamming: Check for any obstructions in the label path and clean them out. Also, verify that the roll tension is correct.
- Inconsistent Label Detection: Ensure the sensor is properly aligned with the label and that it is not obstructed by dust or debris.
Maintaining Your Tabletop Labeling Machine for Longevity
Proper maintenance is key to ensuring your tabletop labeling machine lasts and operates smoothly over time. Regular cleaning, calibration, and software updates (if applicable) will keep your machine in top working condition.
- Routine Cleaning: Clean the machine regularly to prevent adhesive buildup, dust, and debris. Use a soft cloth or compressed air to clean the label path and sensor.
- Proper Storage: Store the machine in a clean, dry environment when not in use. Avoid areas with high humidity or extreme temperatures.
- Use Recommended Supplies: Always use label rolls, ribbons, and other materials that are recommended by the manufacturer to avoid performance issues.
Conclusion: Setting Up Your Tabletop Labeling Machine Made Easy
Setting up a tabletop labeling machine may seem like a daunting task, but with the right steps and attention to detail, it can be a straightforward process. By following this guide, you’ll be able to get your machine running smoothly and efficiently in no time. Take your time during the setup process, and don’t be afraid to troubleshoot if things aren’t working perfectly the first time.
Once your machine is properly set up, you’ll be ready to produce high-quality, consistent labels that will help your products stand out.